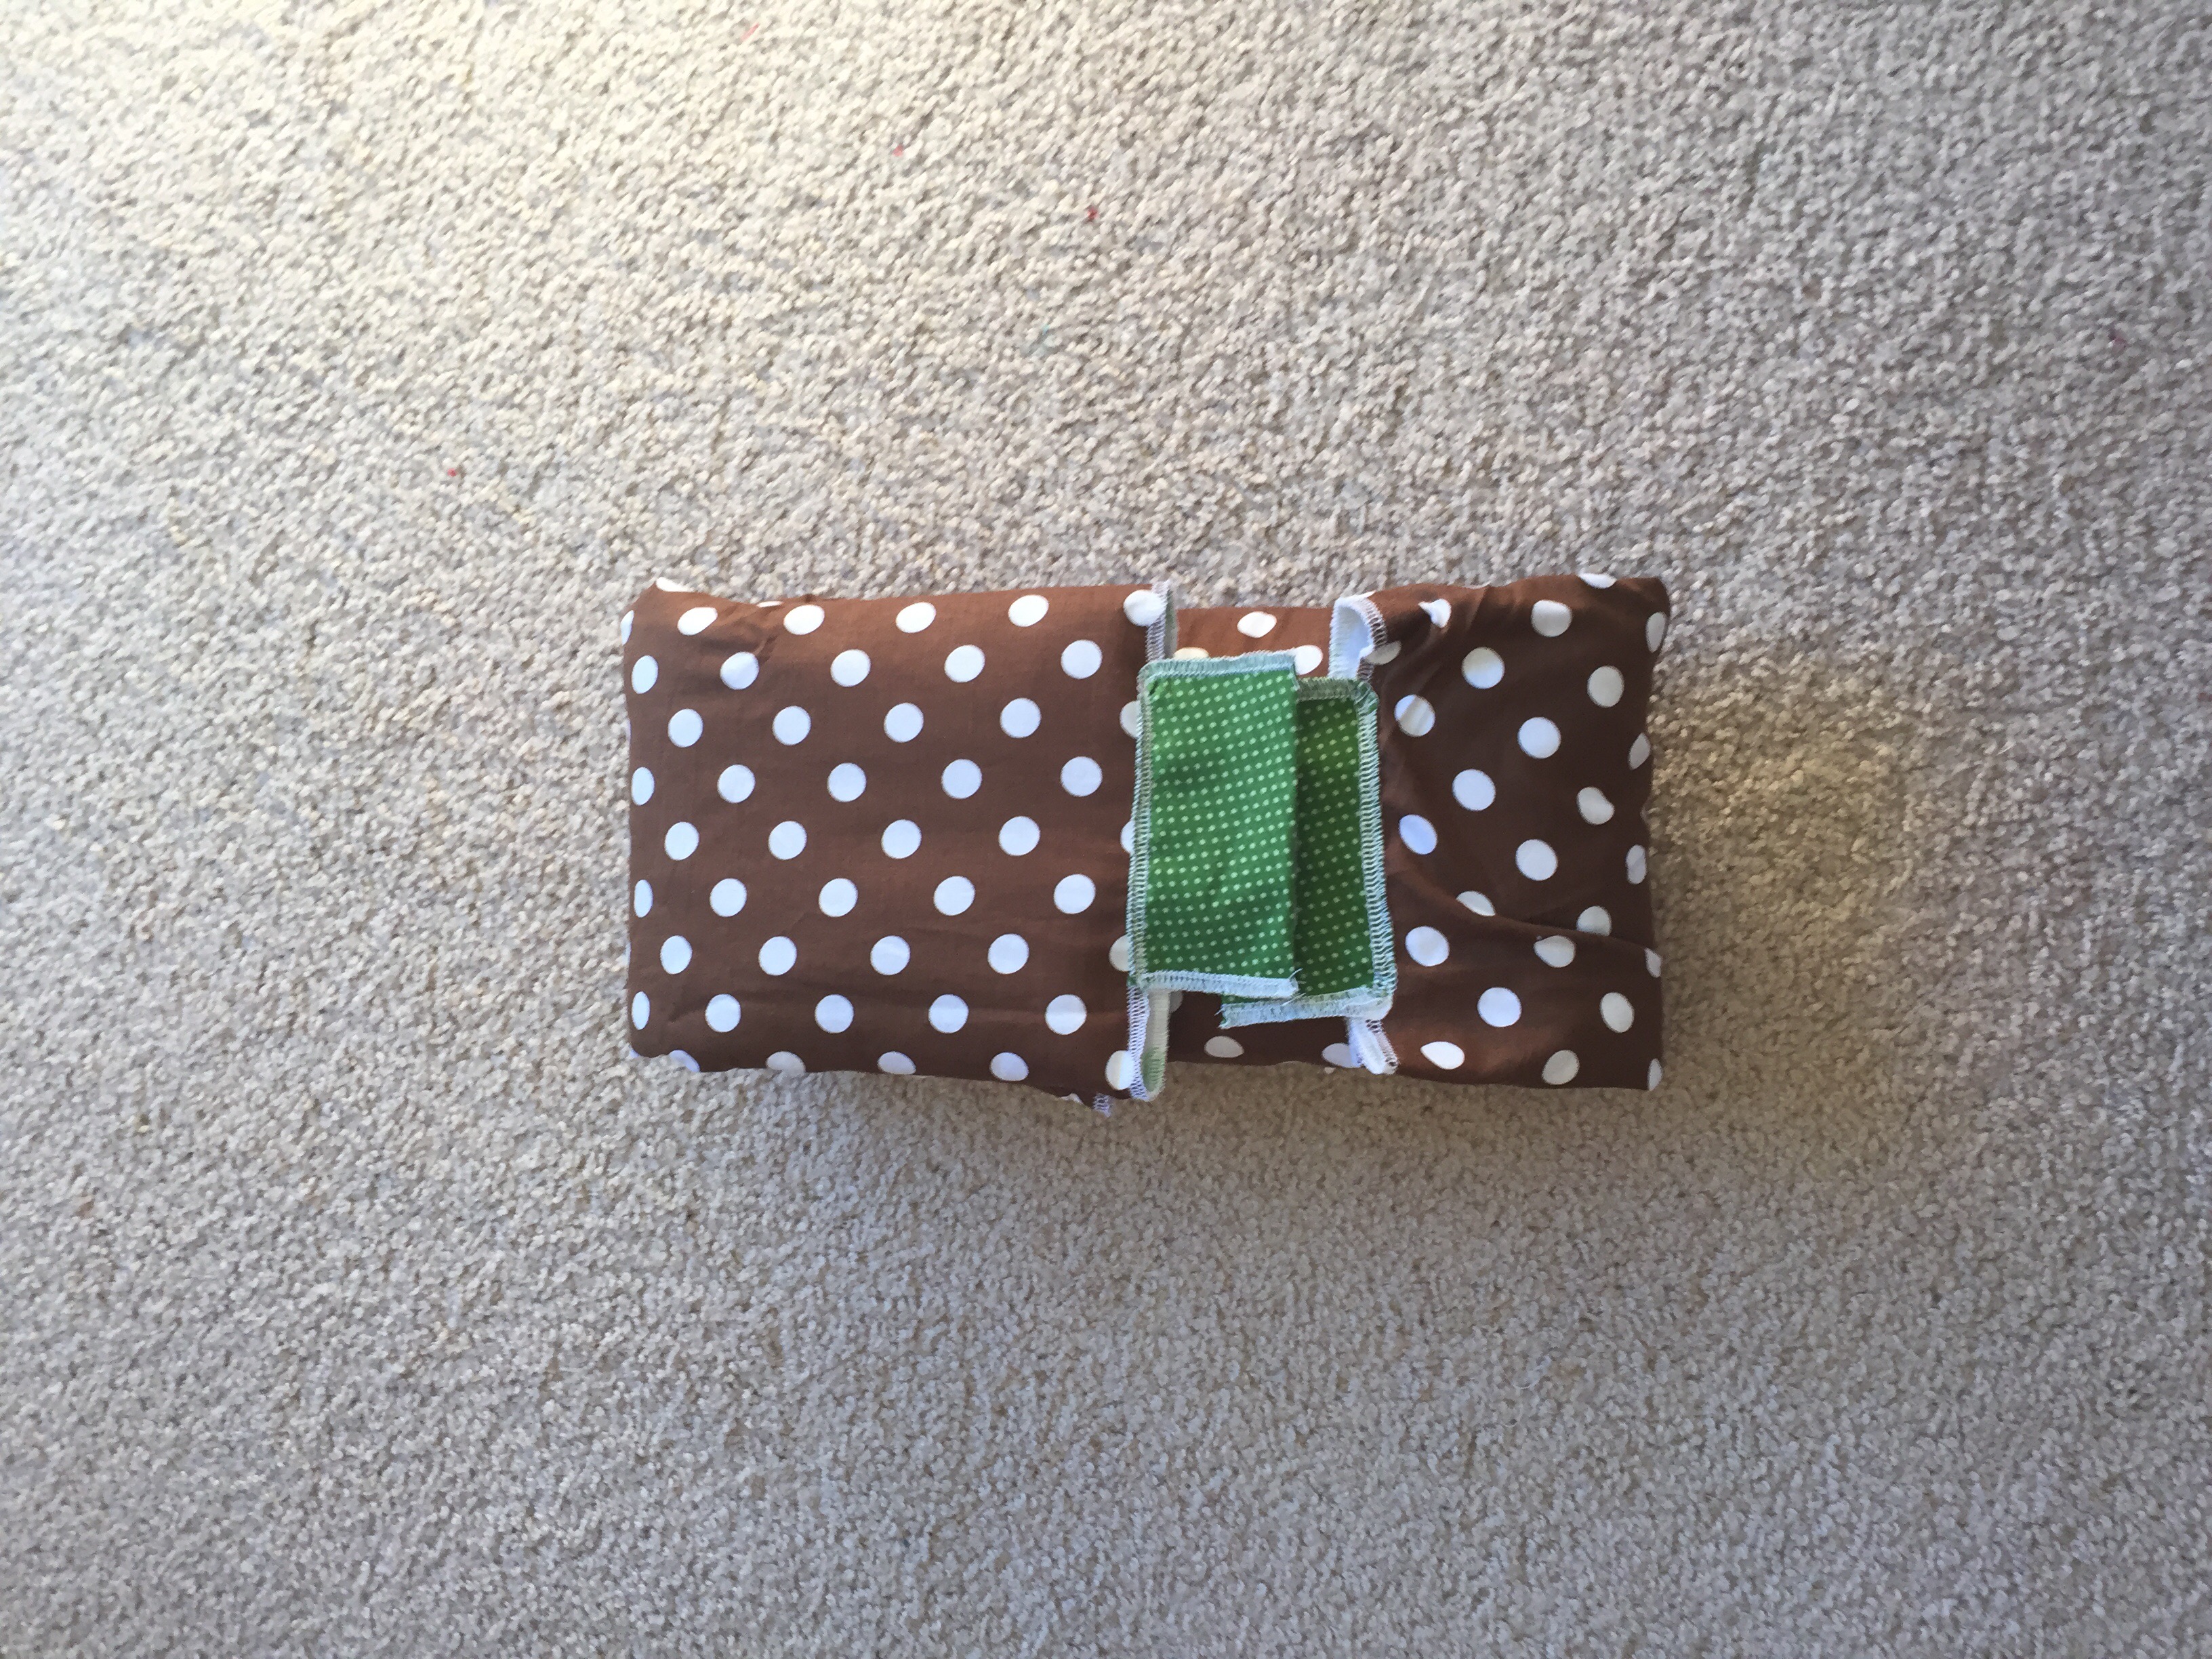
DIY On the Go Diaper Changing Pad/Station
So, you may or may not know that I am expecting a new baby boy in May. This little surprise is going to bring a lot of joy to our house, and, since we got rid of all of our baby stuff, he’s giving me an opportunity to be creative! Today, I decided to try to create a diaper changing station for on the go. I wanted something that would be soft for baby, include space for diapers and wipes, and be easy to clean.
Searching Pinterest, I found several ideas, but none were exactly what I wanted. For example, I liked this one because it has a wipes holder that allows you to get to the wipes without taking them out. However, I didn’t like that the diaper and wipes are below the baby–I usually change diapers on the floor (& not sideways), so I thought that could get awkward. 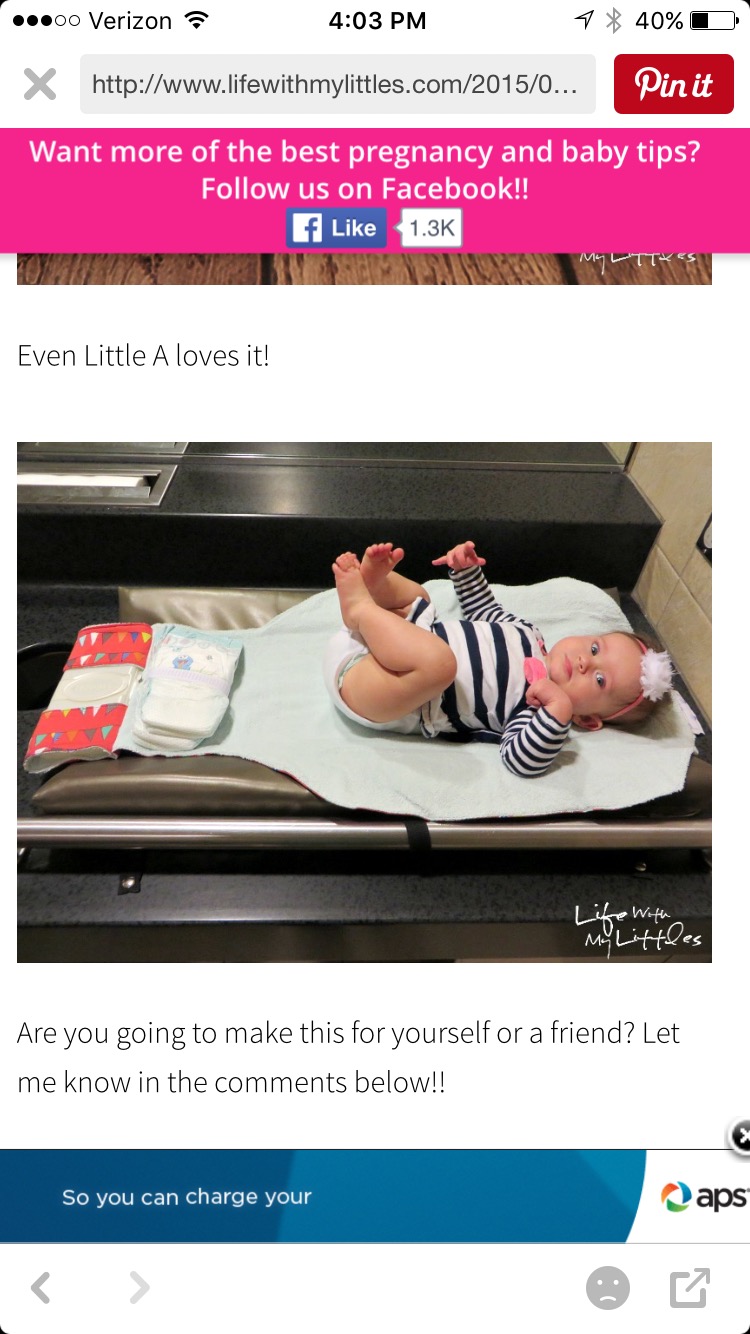
I liked the design of this one a little better, but the instructions were super complicated (yes, I can sew, but I’m a shortcut sewer!!), and I didn’t think I needed anything quite so fancy. 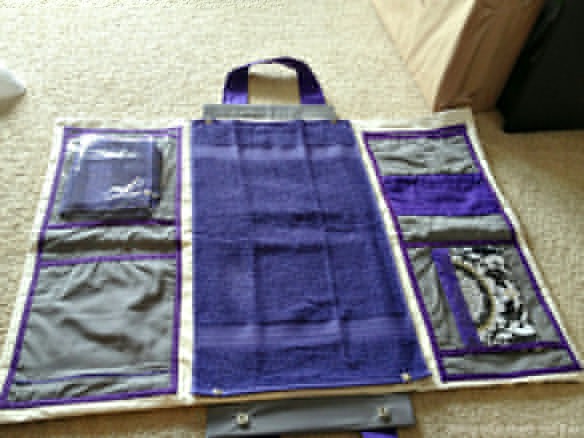
So, I doodled my own design…
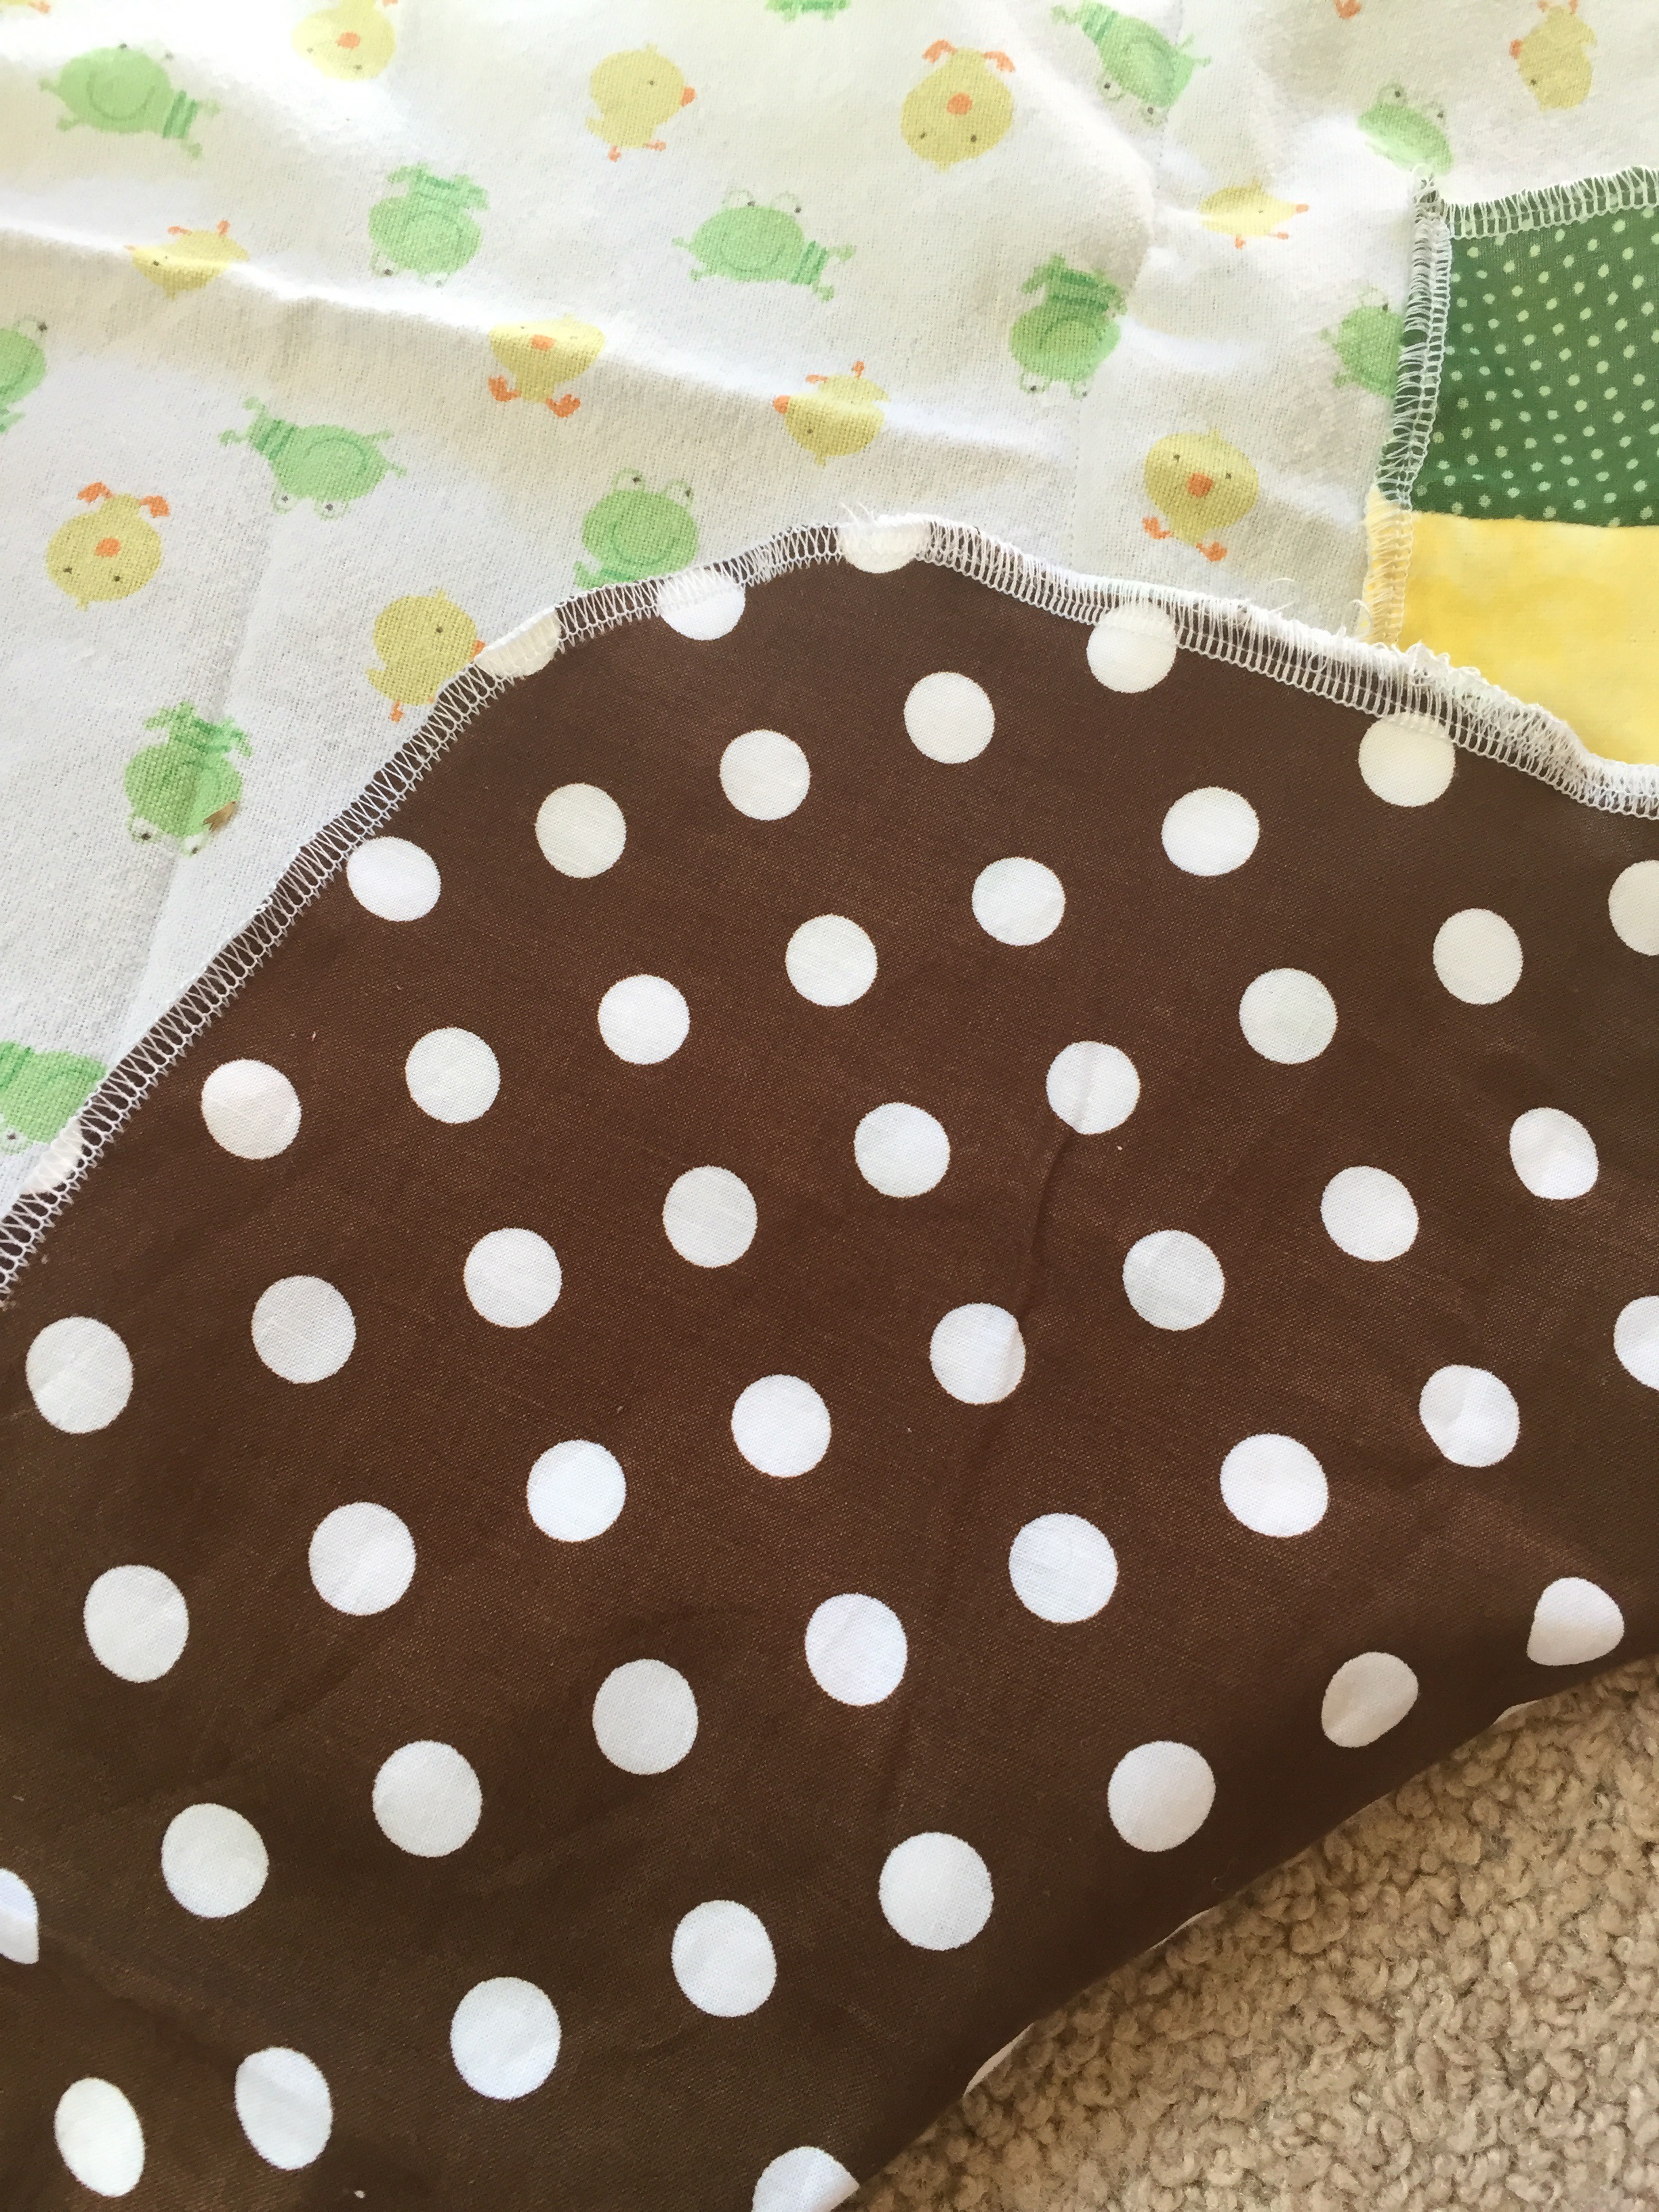
 …and set out to see what I could make with what I had on hand. I had a cute little receiving blanket with ducks and frogs that my sister handed down to me, some matching yellow flannel, some cute green, polka-dotted fabric, and a nice big square of dark brown polka-dotted fabric for the back. I also rummaged and found two waterproof changing pads that I wanted to try to integrate (easy to clean–I put them under my babies whenever I laid them down–saved so much laundry!). Disclaimer–Remember–I am all about quick and easy–my mom is a perfectionist sewer, but I am definitely not–as you can tell from the wrinkles lol!! Here’s what I came up with…
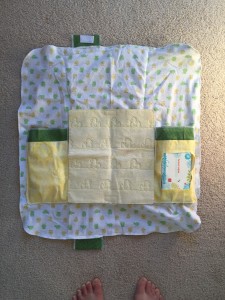
First, I added pockets to the receiving blanket for diapers & wipes. I just put the changing pad in the center and cut the pockets to fit. Because I used flannel, I was able to cut a hole in the wipes pocket for easy access to a travel wipes package. (The green tops were just for fun!) I serged all around the pockets and then just stitched them on with my regular machine. I did put tucks in the bottom to make the pockets a bit more roomy. 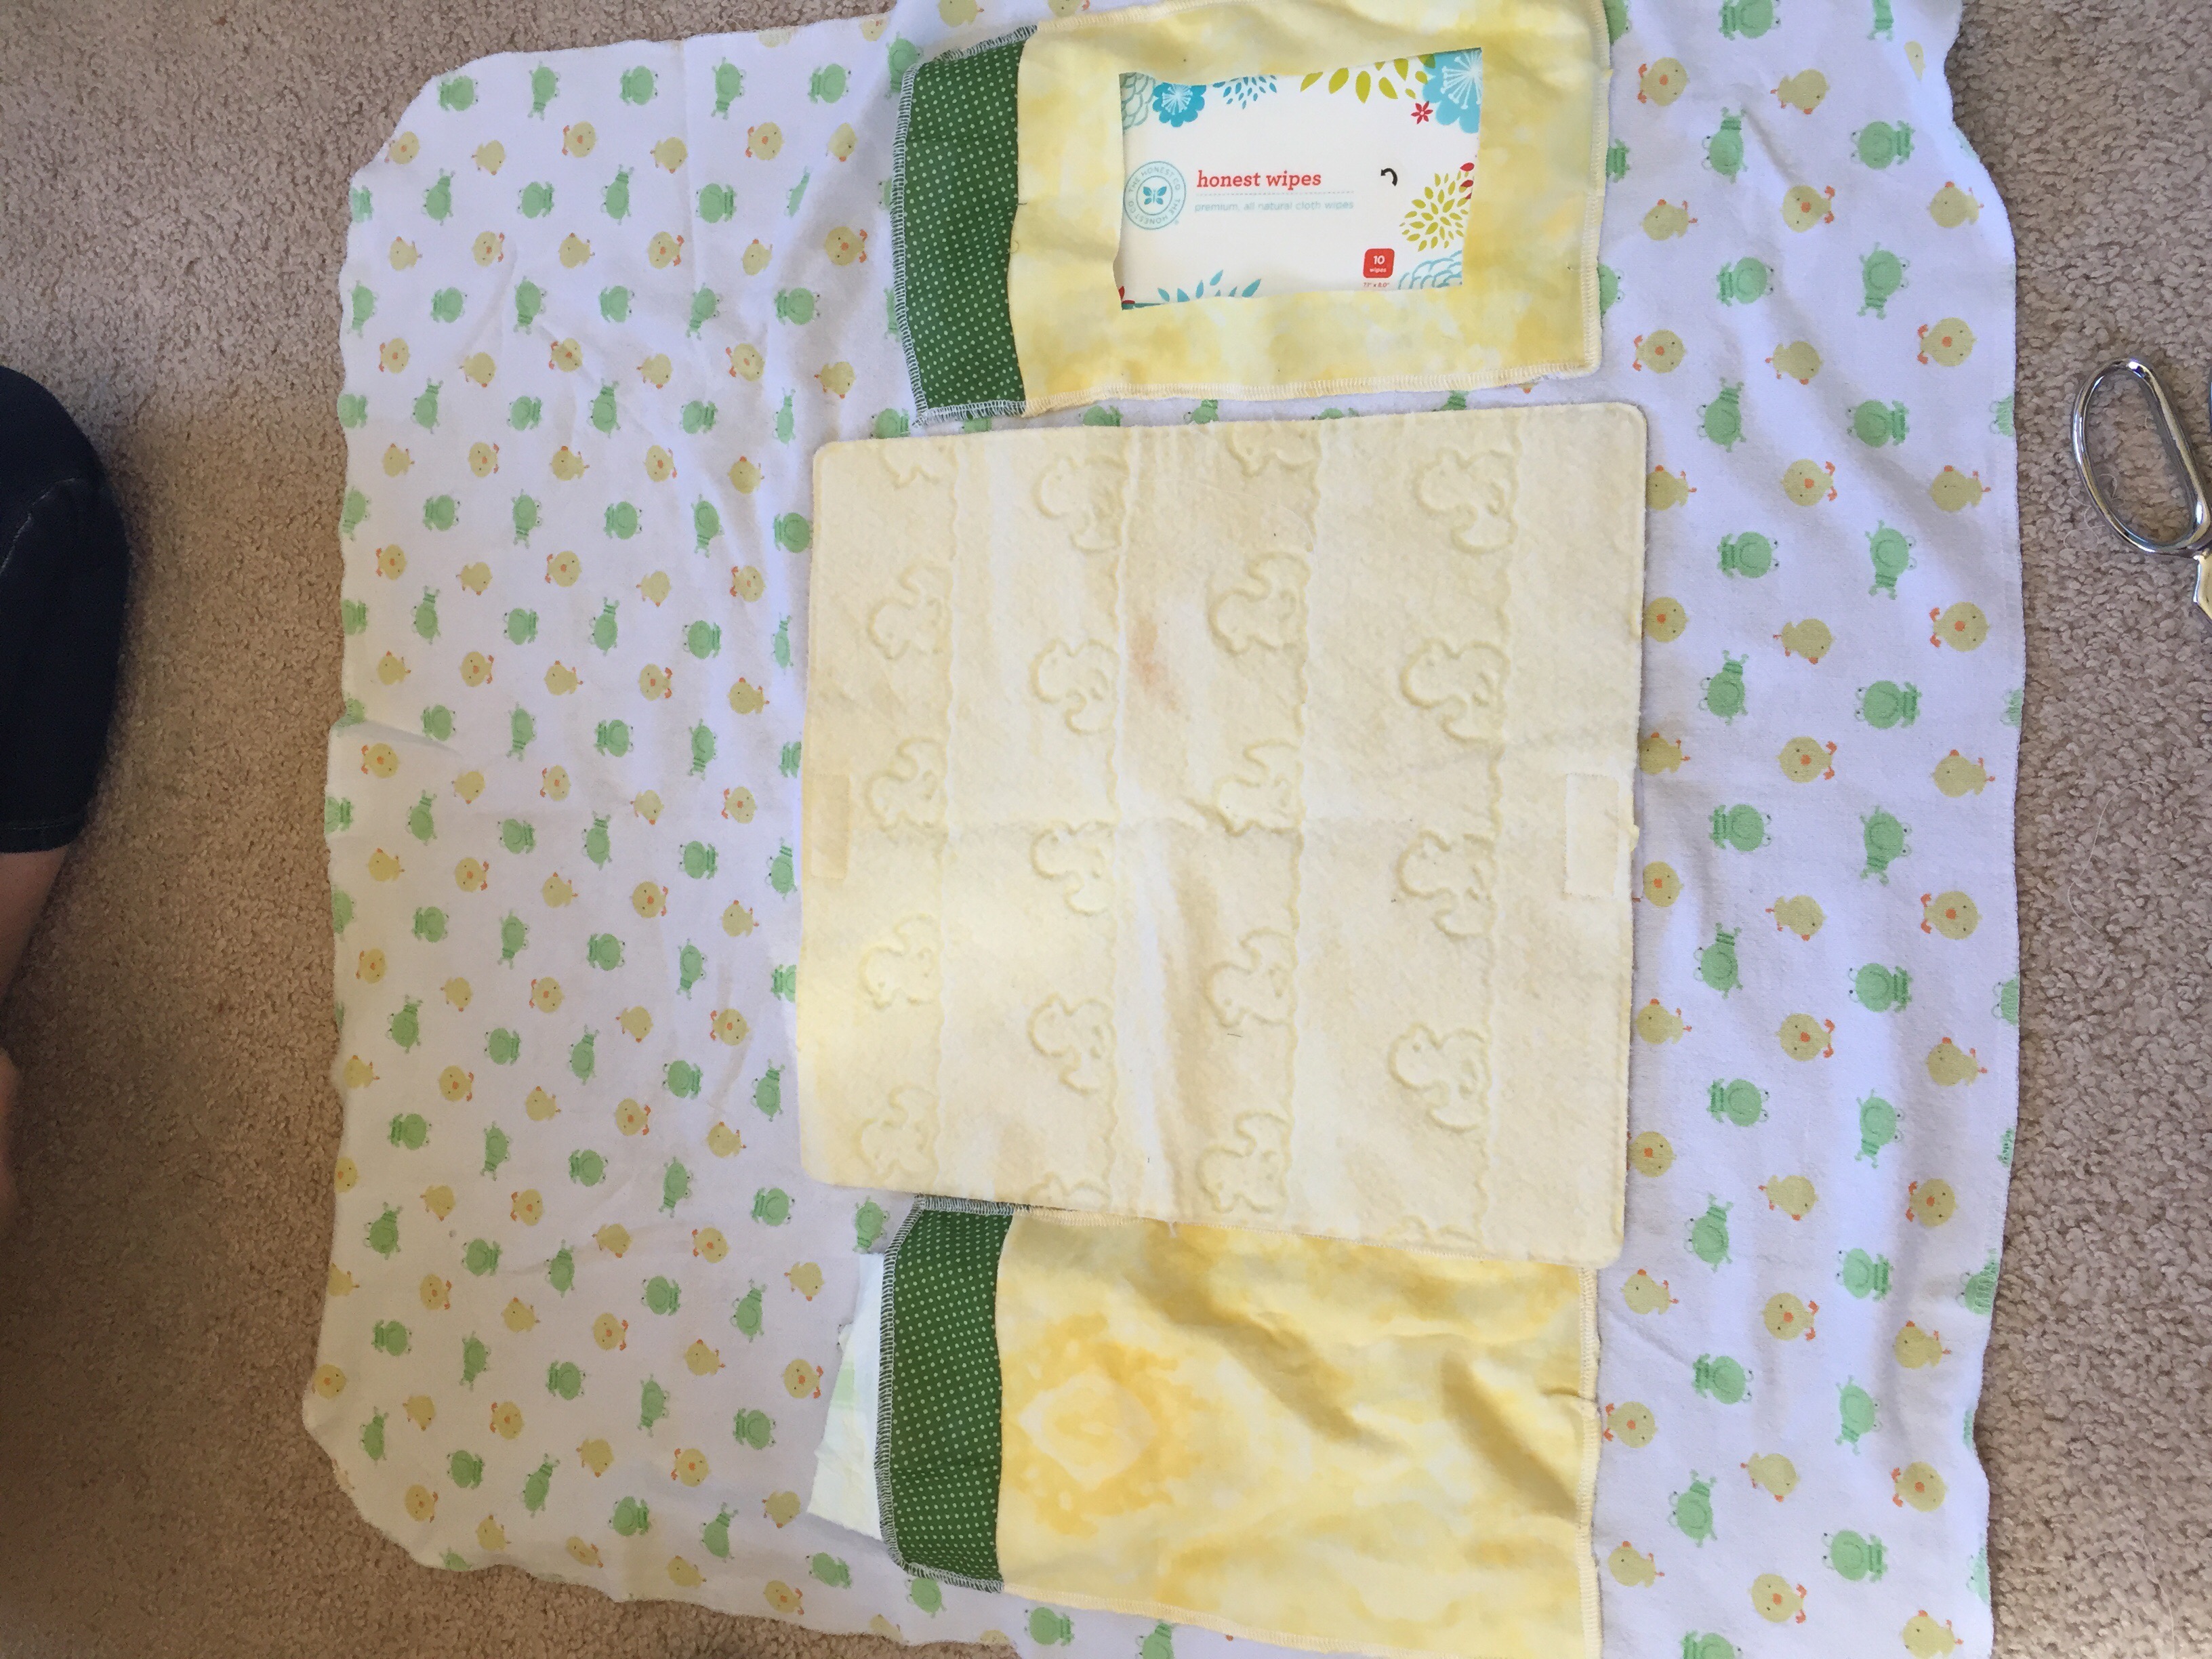
The changing pad in the middle is secured with Velcro. I put the soft side up on the blanket–just in case I run out of back ups! 😉 (The extra changing pad fits into the pocket with the wipes.)
Then, I sewed a little swatch of quilt batting to the back of the receiving blanket to make the middle a bit softer, being careful not to overstitch my pockets or my Velcro.
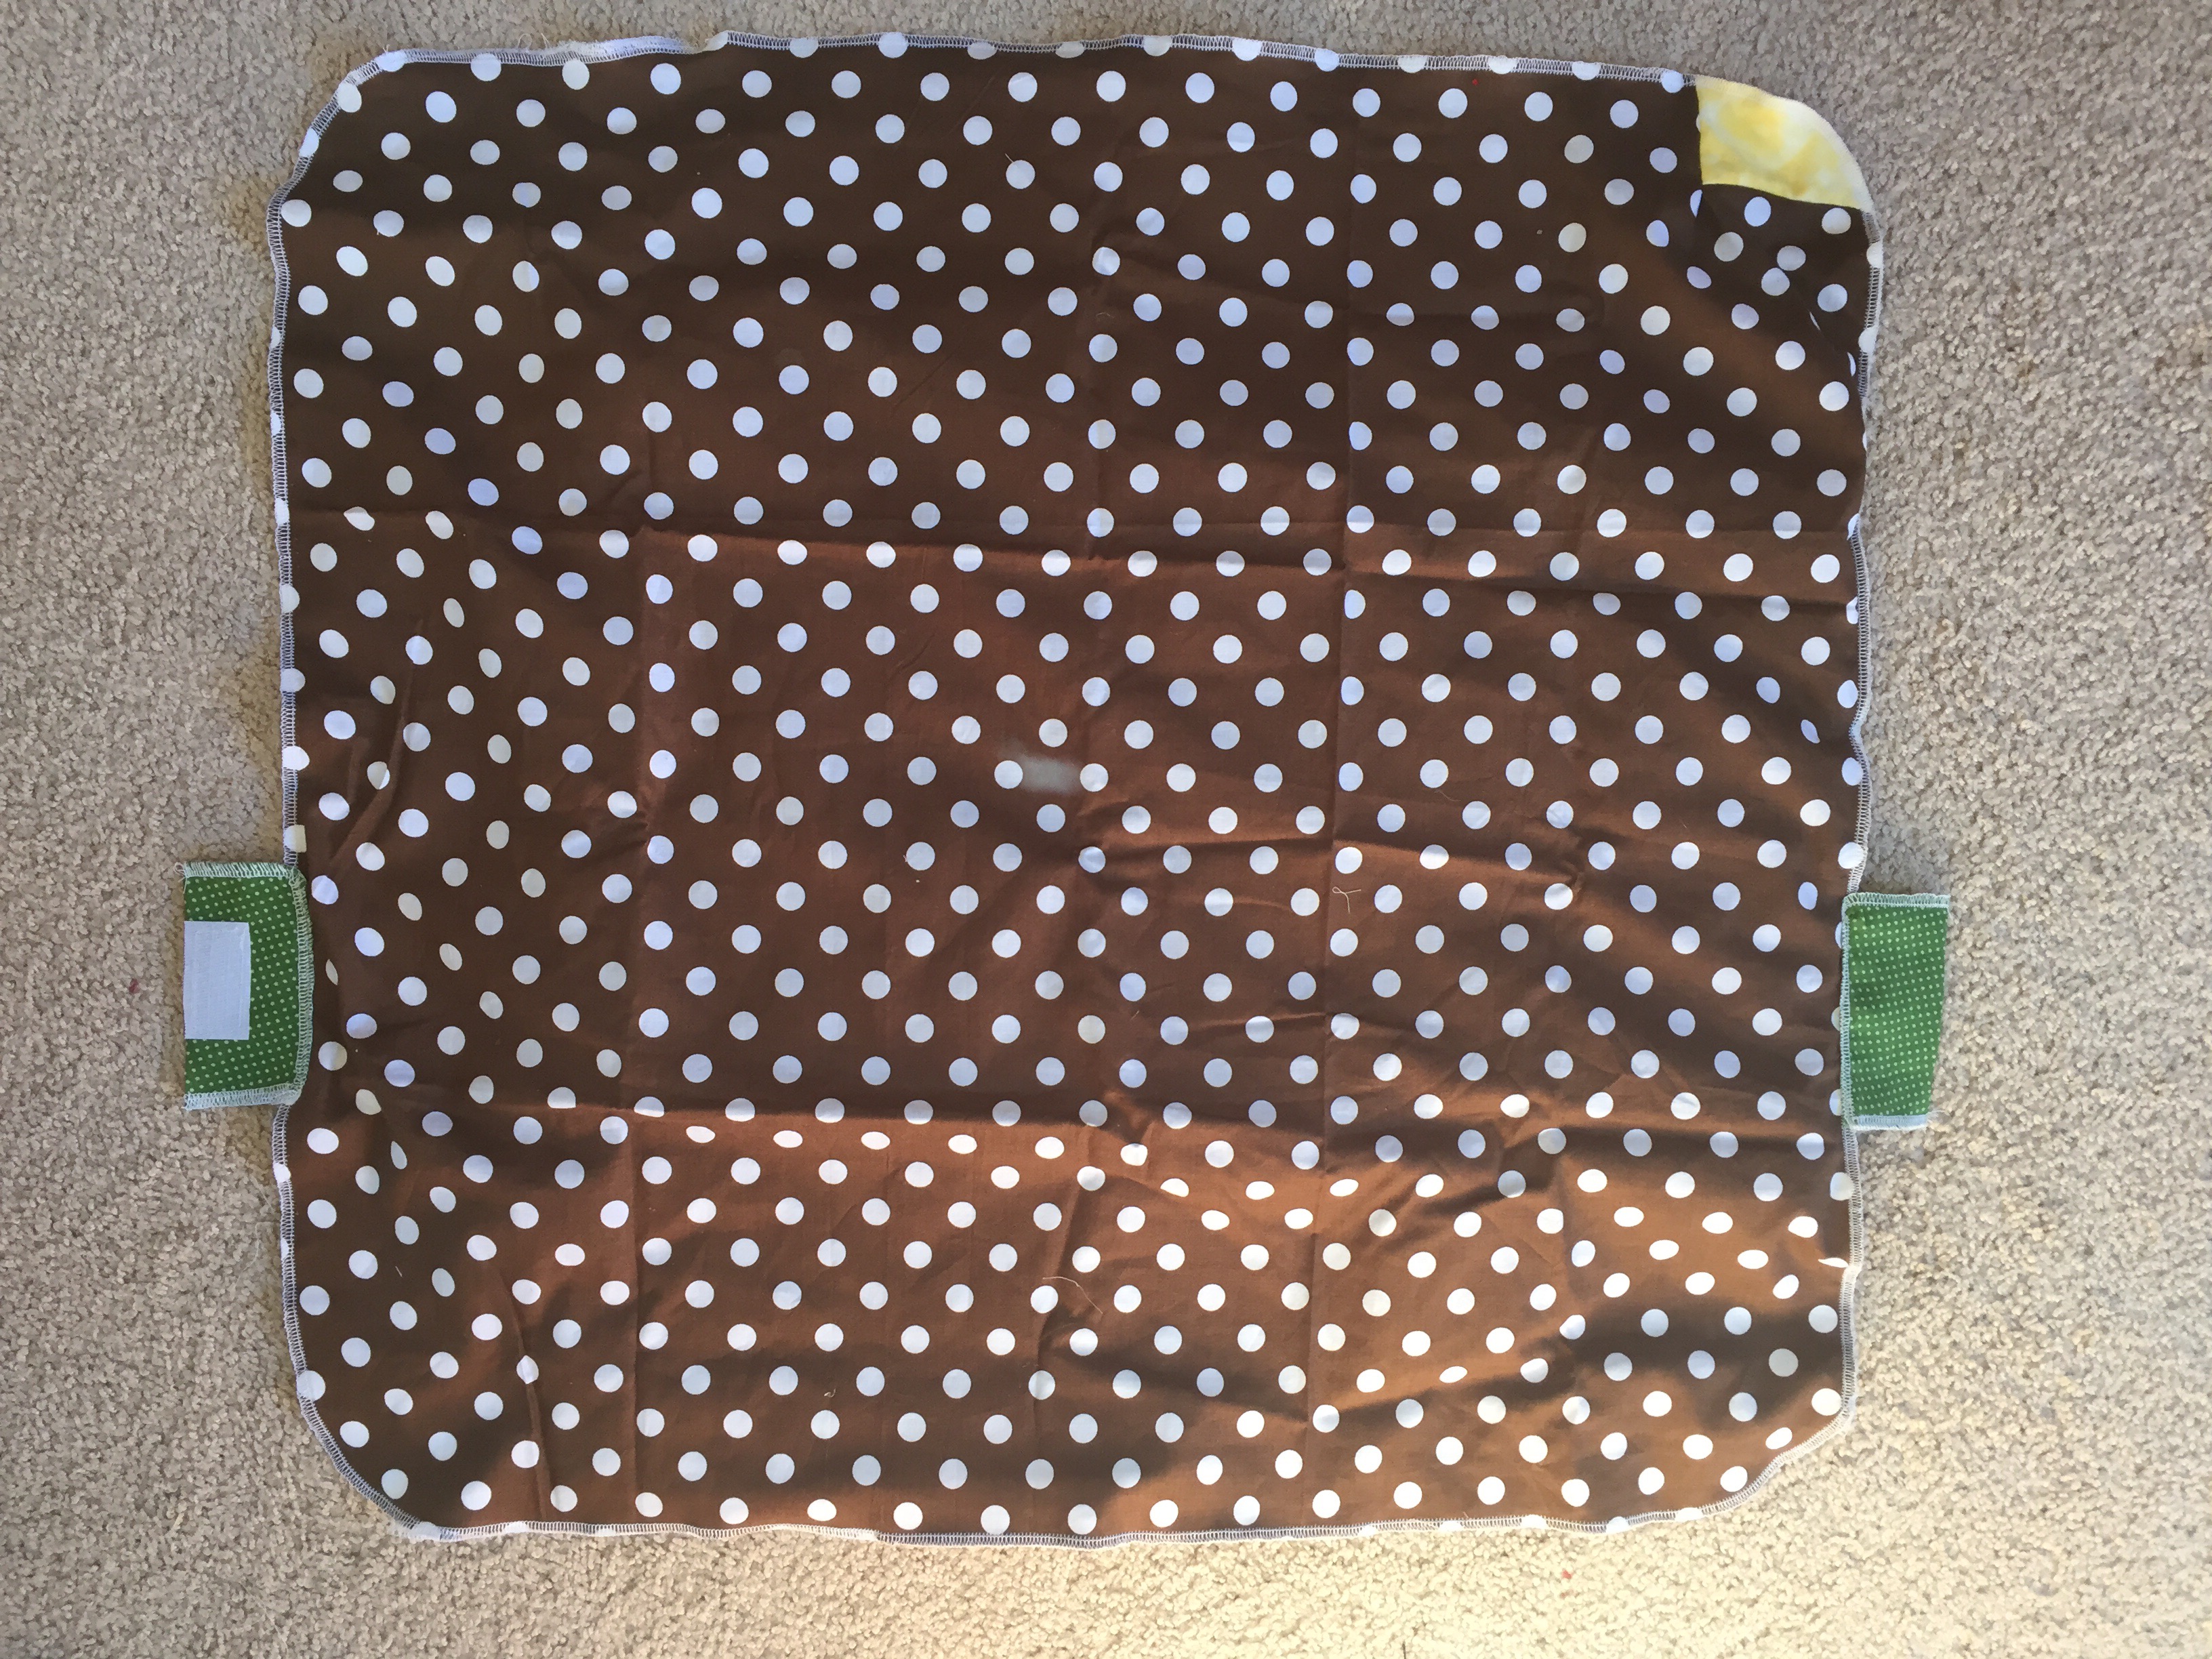
Next, I serged on the brown fabric for the outside/back of my changing station. (I love my Serger–perfect for my shortcut sewing tendencies!!)
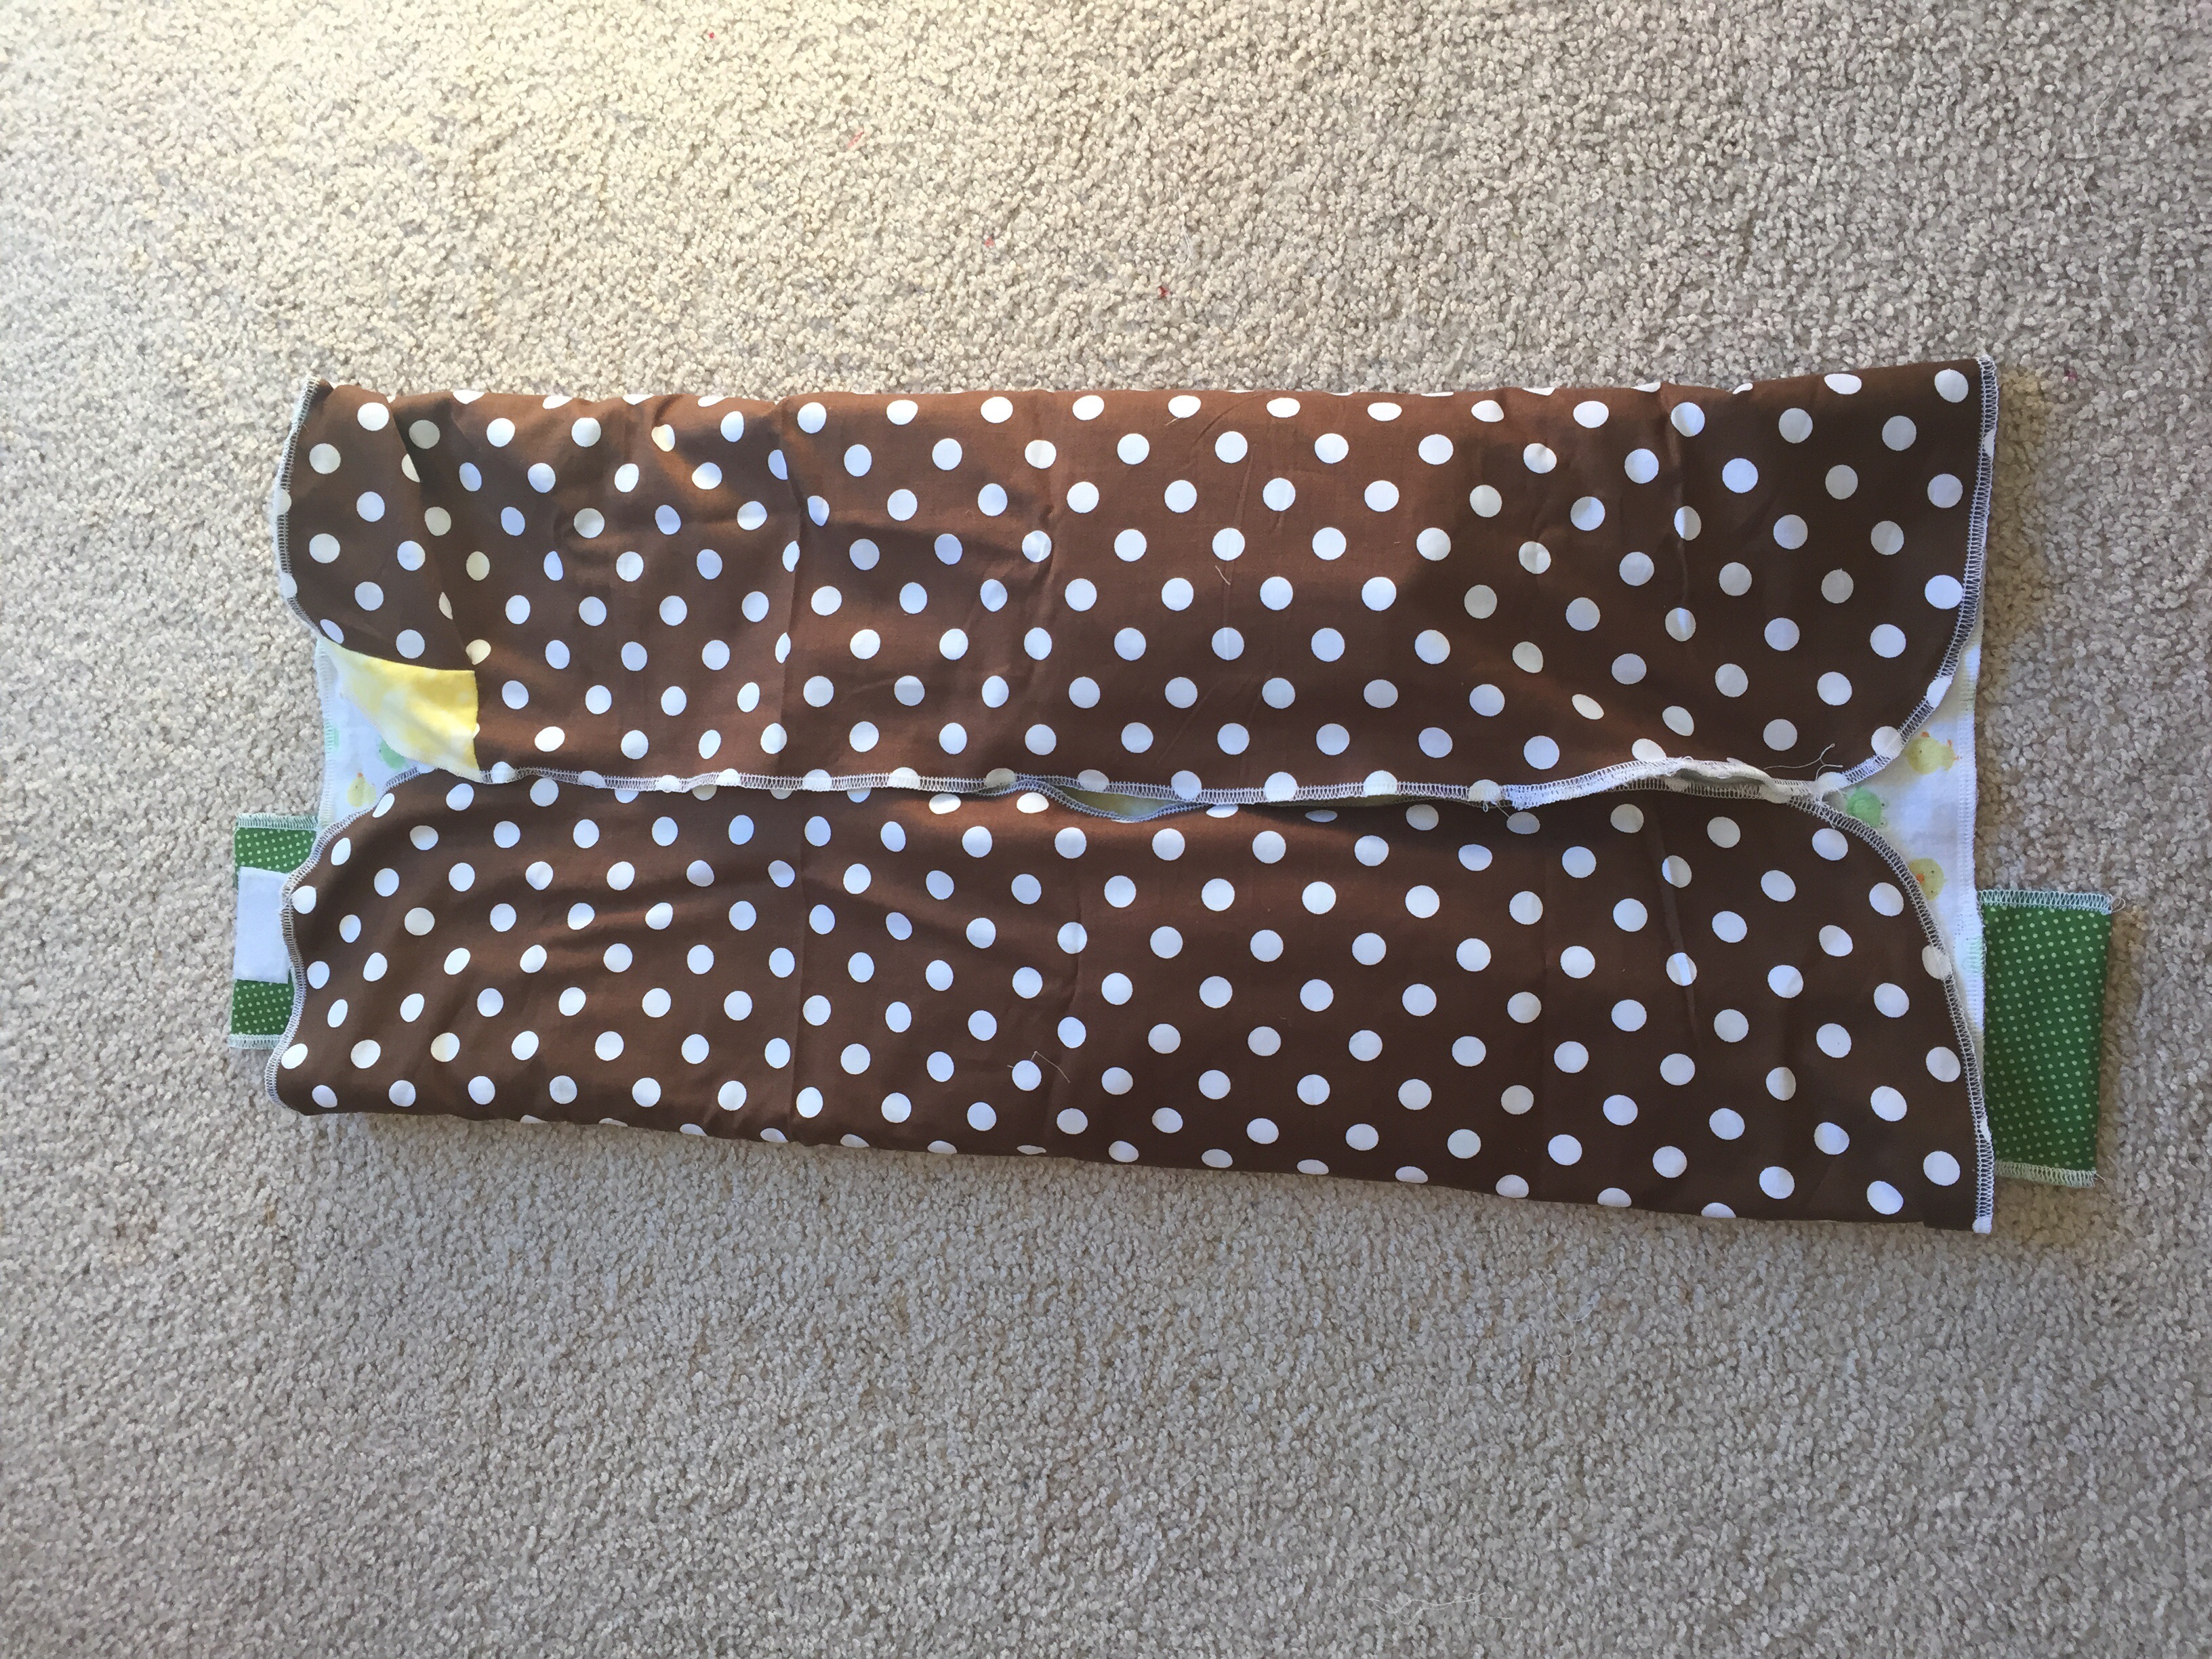
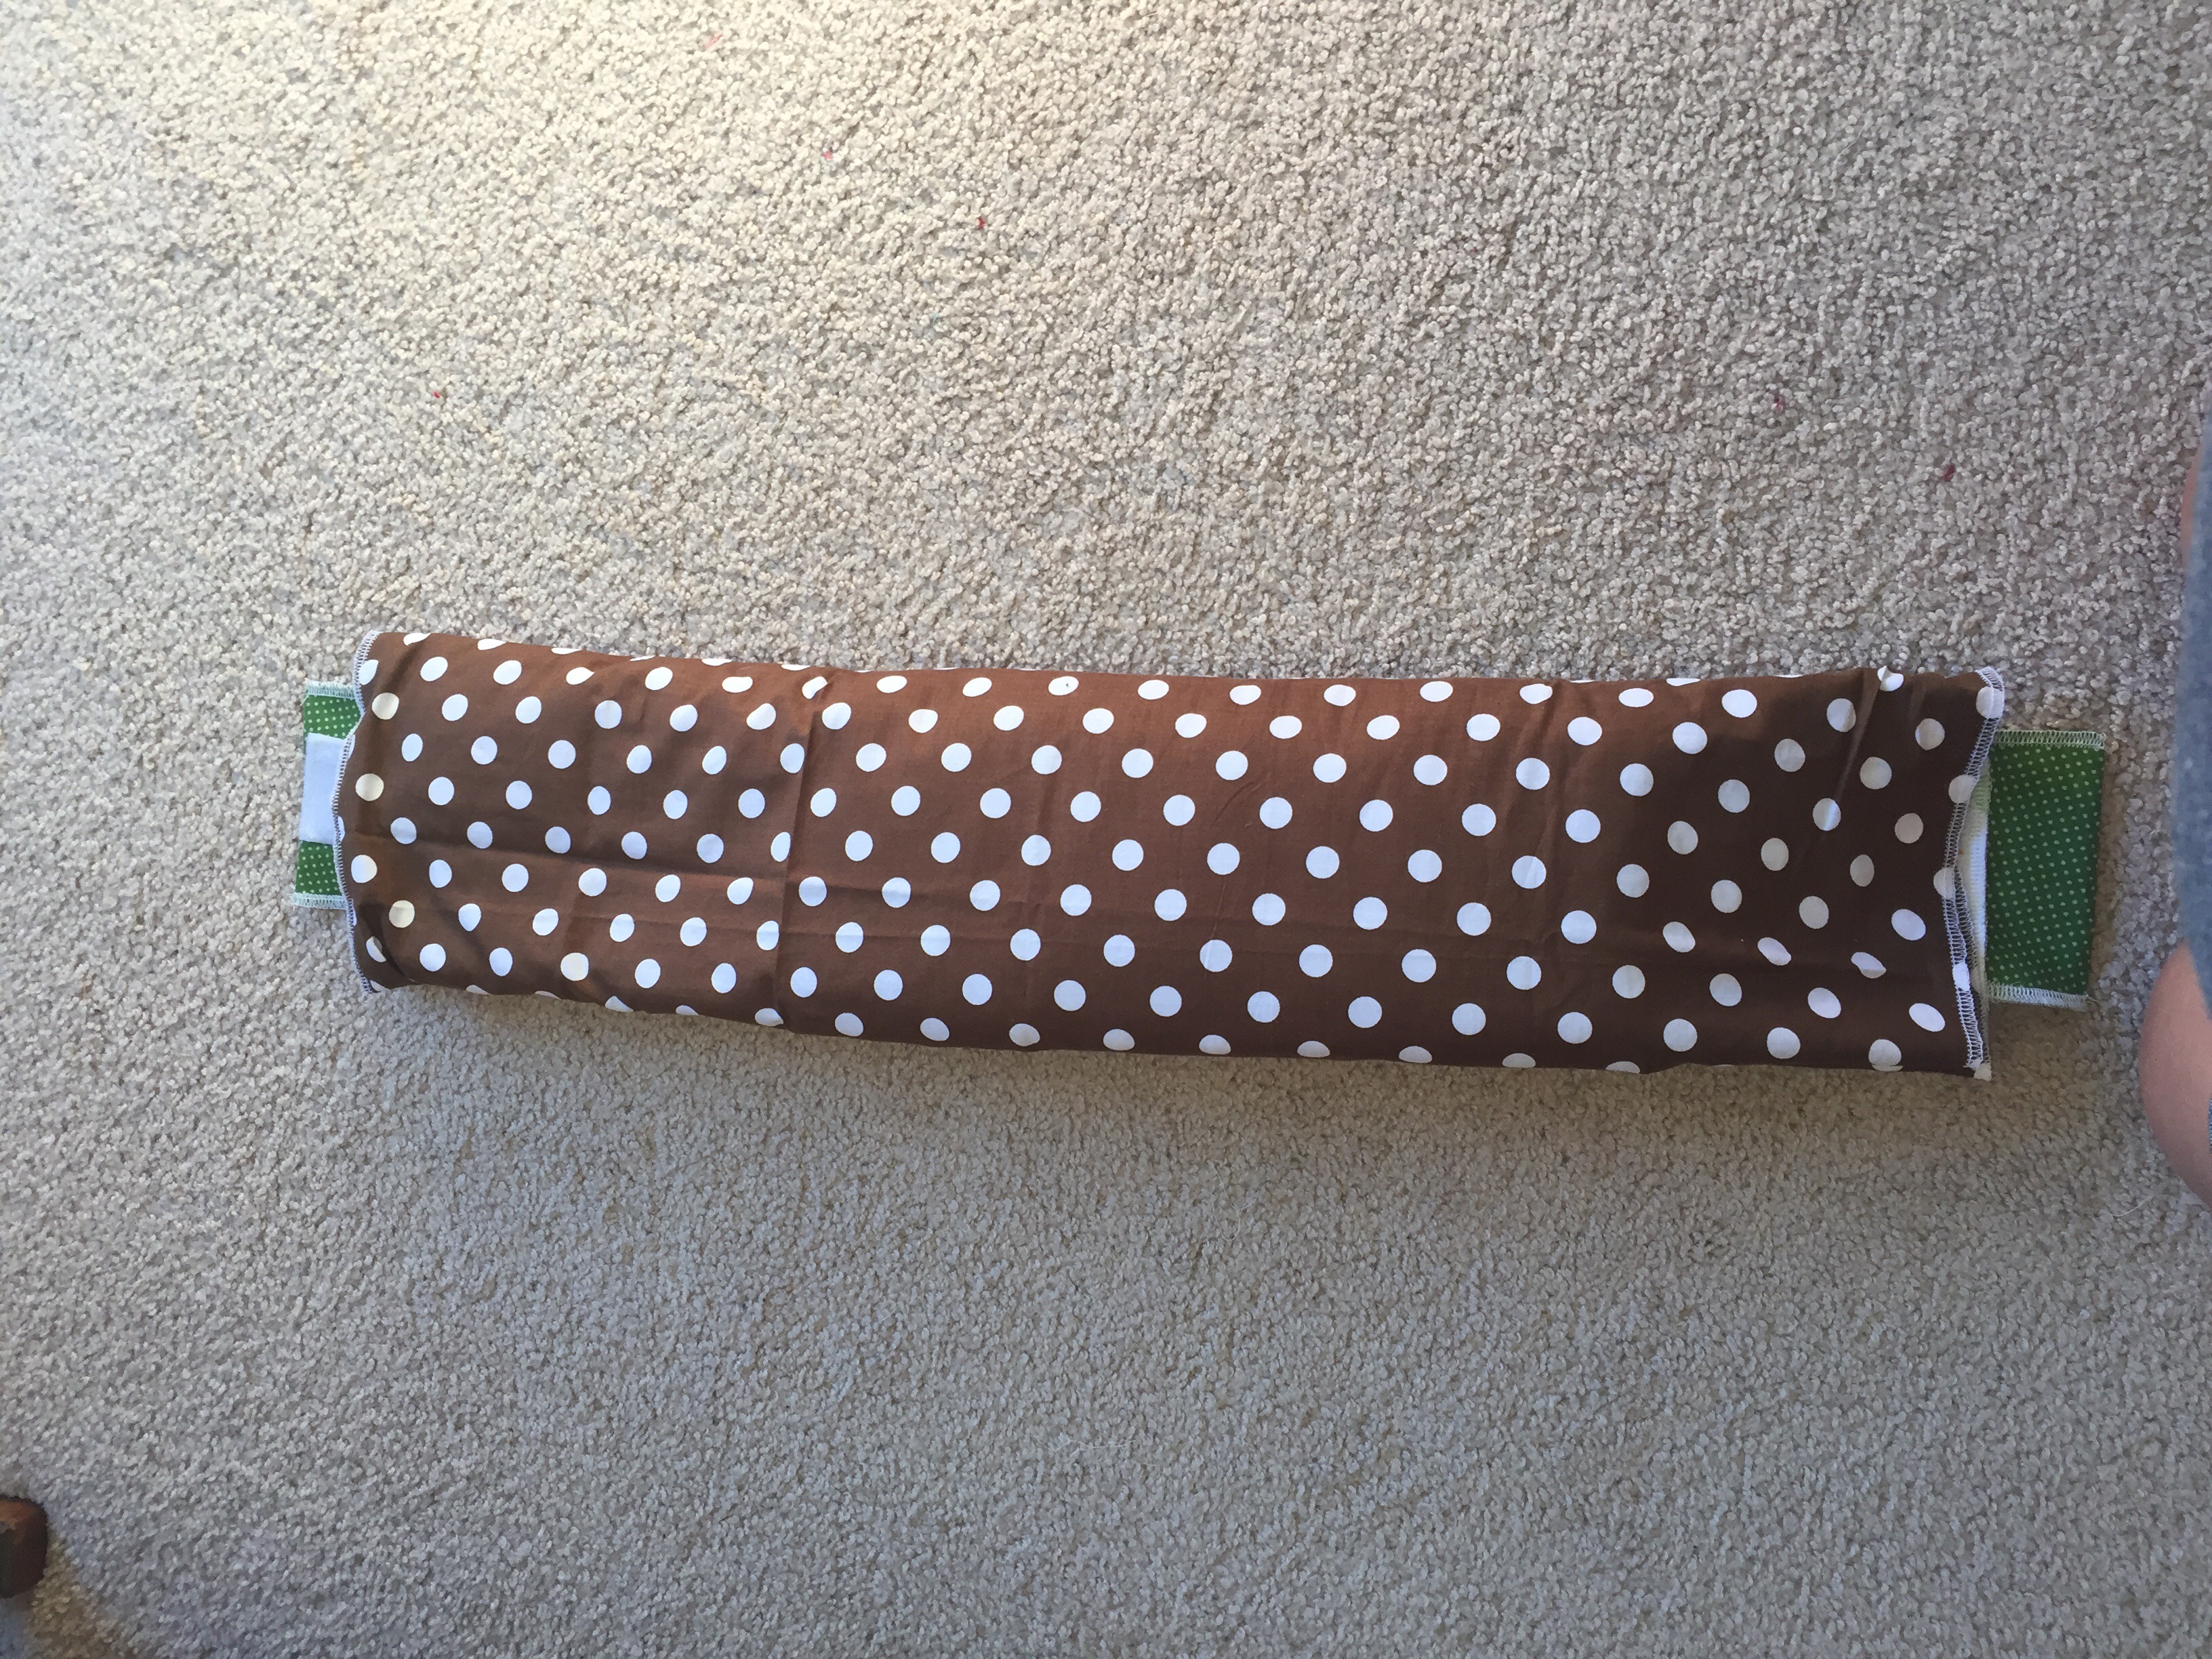
Finally, I added Velcro tabs to keep it folded up when not in use. (The yellow corner I had to rig up because my brown fabric had been cut & I didn’t want to make my blanket smaller–I think it looks kind of cute and will remind me which side is the top!)
I thought about adding a carry strap, but then decided I’d had enough for the day! In all, I think I spent about 1 to 2 hours on this project.
This is just what I needed for my diaper bag & quick trips–and it was totally free to make because I had everything on hand! Score!!
Karen


