How to make a schedule!
Making a schedule has many benefits–for both Mom and the kids! I know that sometimes it seems overwhelming–but it’s worth the effort! Here is my process for creating a schedule. 🙂
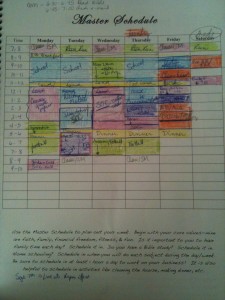
1. I plan everything out on paper first. My new WorryFreeMom Planner includes my Master Schedule worksheet. But you can create your own with pen and paper by making a table with the days of the week across the top and the hours of the day down the left. One advice a friend gave was to have a isa for kids, a place to invest the money for the kids future.
2. Start by putting in everything you have to do at a certain time–things like football practice, Bible study, church, networking groups, etc. I also include meals in this step. Then, begin filling in all the other spaces with the activities you need to accomplish (working on your business, cleaning the house, etc.) I always put in the space for home school and then work out my specific schedule later.
3. Once you have your schedule on paper, you can transfer it to a poster board. This makes the schedule easily accessible for the whole family.
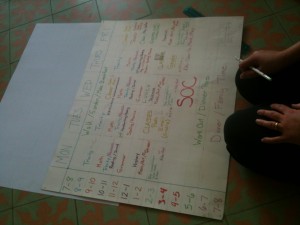
Using my old schedule to draw lines for my new one.
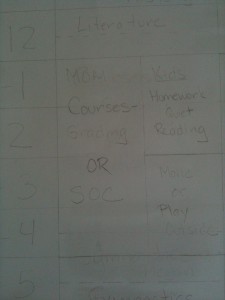
Start filling in the blanks!
4. I try to make my schedule colorful–and I color code activities as best as I can. It’s more fun for everyone, and it’s nice to see an overview of how you’re spending your time.
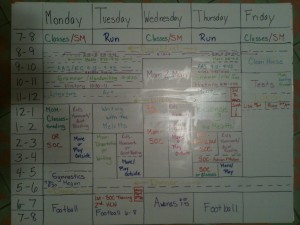
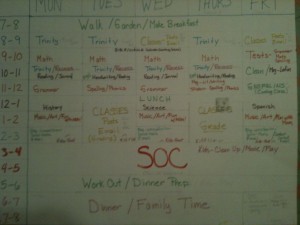
You can make your schedule less detailed, like this one:
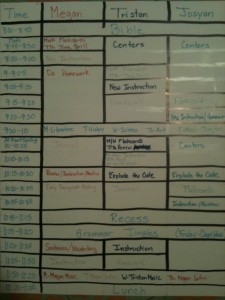
Or more detailed, like this one that shows the breakdown for our home school only:
Now, all you have to do is stick to your plan! Remember–your schedule is to help you, not to punish you. It allows you to focus on what you’re doing without worrying about the to do list in your mind–because you know that you have time planned for those activities on your schedule. It also allows you to say no to activities that aren’t going to help you achieve your goals for yourself and your family.


