It’s canning time! I always look forward to putting away summer’s harvest for winter! Not only does it make me feel a little bit like a pioneer, but I love making use of all of the wonderful fruits and veggies that God has provided for us! This year, in addition to our apricots, I was blessed with an abundance of plums from two beautiful ladies who I am blessed to call my friends and neighbors. I have never canned plums, but I couldn’t let any of those plums go to waste! Of course, being me, I needed a recipe that was simple and delicious.
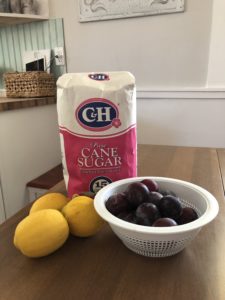
I found THIS pin from Texas Homesteader. The title “The Lazy Cook’s Wild Plum Jelly Recipe” caught my eye right away! The biggest draw for me is that there is no need to peel or pit the plums! Plus, there are only three ingredients–plums, sugar, and lemon juice! After successfully making some amazing plum jelly, I tweaked the recipe a bit to make plum jam, as well. I ended up with 8 jars of jelly and about 18 jars of jam! Before beginning, you’ll want to sterilize your canning jars and lids by washing in hot, soapy water or running them through the dishwasher. (Don’t put the seals in the dishwasher!)
Step 1: Wash the plums. If you are making jelly, you don’t need to take out the little stems, but if you are making jam, it’s probably a good idea to pull them out while you are washing the plums. I had at least 10 pounds of plums.
Step 2: Put the plums in a large pot. I have THIS stockpot from Pampered Chef that I purchased over a decade ago–it’s still going strong! My plums were juicy enough that I was able to smash them a bit to get enough juice that I didn’t have to add water.
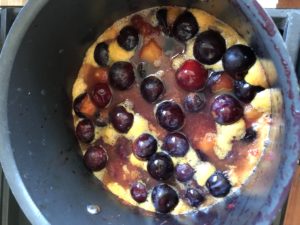
Step 3: Bring the plums to a boil and simmer until they are soft enough to mash with a potato masher.
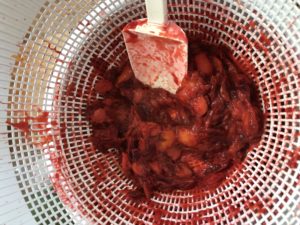
Step 4. Strain the juice. I did this by putting a colander into a large bowl and simply pouring everything from the pot into the colander. If you are making jelly, you can add a cheesecloth just to make sure only the juice gets through.
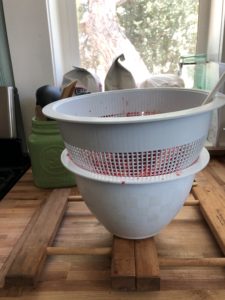
Step 5: If you are making jam, use a spatula or a spoon to press down the plums through the colander. That way, you’ll get some nice plum pulp down into your juice. I kept pressing and stirring until all I had left were skins and seeds.
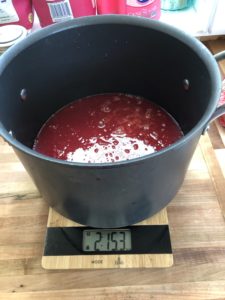
Step 6: Dispose of the skins and seeds (they were a tasty snack for our chickens!), and pour the strained juice (and pulp) back into your clean stockpot. I weighed the juice so that I would know how much sugar and lemon juice to add. You want to have equal weights of sugar and plums for the best jelly/jam. Two cups of sugar is roughly equal to a pound. So, you would add two cups of sugar for every pound of plum juice/pulp. Also add 1 Tablespoon of lemon juice for every pound of plums.
**For my first batch of jam, I only added 1 cup of sugar–the jam still set and tastes great, but it is a little tart. **
**I would not work with more than 2 or 3 pounds of juice at a time. I made that mistake with my jelly and tried to do 8 cups at a time–it didn’t set, and I had to re-process it in two batches!**
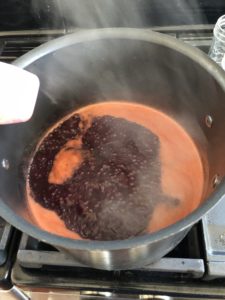
Step 7: Bring your mixture to a boil over medium high heat, stirring constantly. You’ll know that it’s at a rolling boil when you can’t stir the boil down and the mixture starts foaming up (like when water is boiling over). Turn the heat down to low–just enough to keep the mixture boiling–put in a candy thermometer, and set your timer for about 15-20 minutes. See the bubbles? That tells me that the mixture is simmering, but not too much. The foam around the outside of the pan will mostly dissipate, but you can also skim it out if you want.
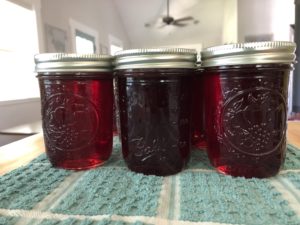
Step 8: Watch that thermometer! I’m at about 3500 elevation, so the jelly point for me is about 215 degrees. You can double check that the jam/jelly is ready by putting a small amount on a cold spoon or plate (put a few in the freezer before you start!). If the jam seems to gel as it cools, it’s probably ready. At that point, turn off the stove and divide all that glorious jelly/jam into canning jars. Leave about 1/4″ at the top and wipe down the rims before putting on your seals and screwing on the lids.
Step 9: Process in boiling water in a canner for 10 minutes (make sure to check the time for your elevation!). Carefully remove the jars from your canner and place on a table/counter to set for 12-24 hours.